Eclipse setup for Java in Ubuntu 18.04+
22 May 2019
Before starting the installation of Eclipse in our Ubuntu we should first check whether we have JAVA DEVELOPMENT KIT (JDK) installed or not, so in order to install your Eclipse successfully follow the procedure
STEP 1
Checking JDK is installed or not:
Run the command below
java -version
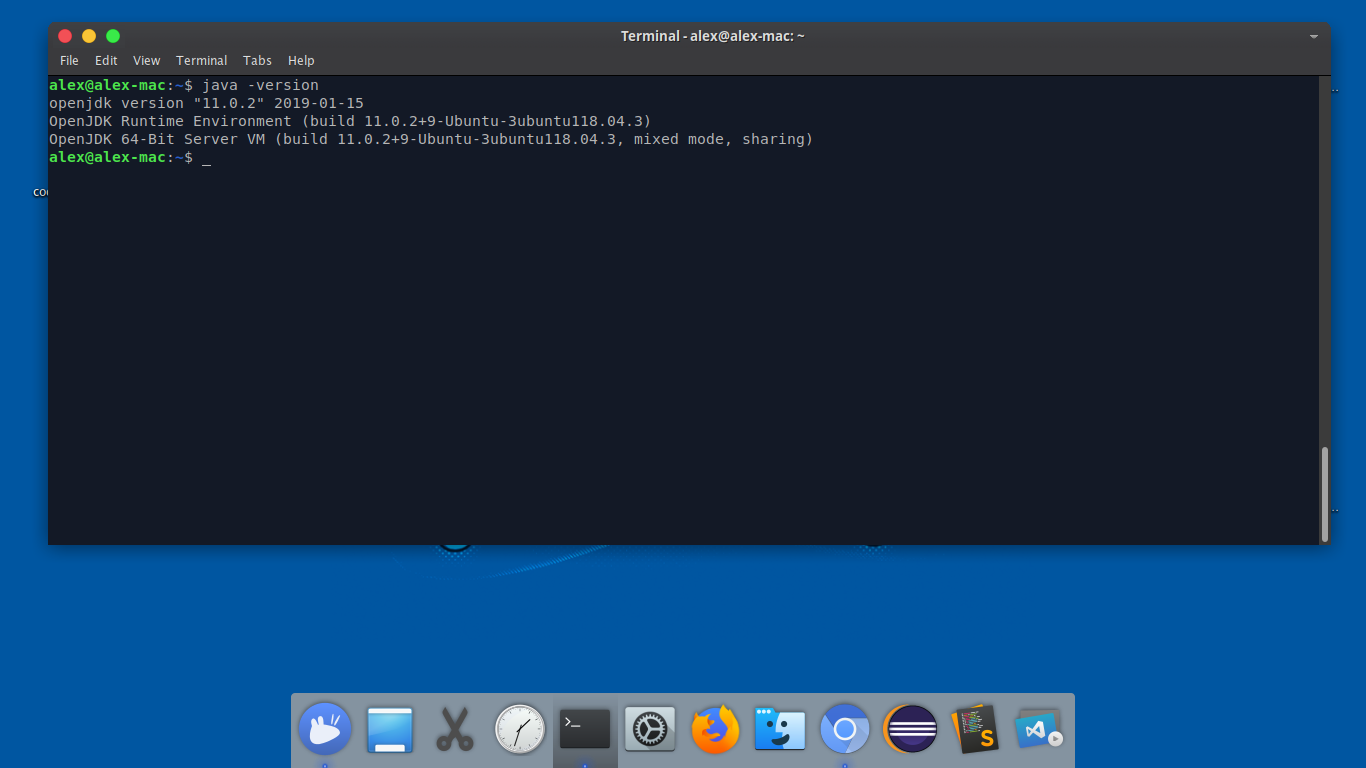
If you get output something like

Then you are good to proceed to the installation STEP 3 otherwise proceed to next step.
STEP 2
JDK types
Now before the installation you should know that there are two types of JDK available.
- Open JDK
- Oracle JDK
We will be going with Open JDK, however you can install Oracle JDK.
Oracle JDK has some extra commercial features but for a beginner Open JDK is sufficient.
INSTALLATION
Run the following commands one by one
sudo apt update
sudo apt install default-jdk
sudo apt install default-jre
java -version
STEP 3
Eclipse installation
Run the following command
sudo snap install --classic eclipse
This will install eclipse in your Ubuntu and produces following output after installation.
eclipse 4.8.0 from 'snapcrafters' installed
After installation
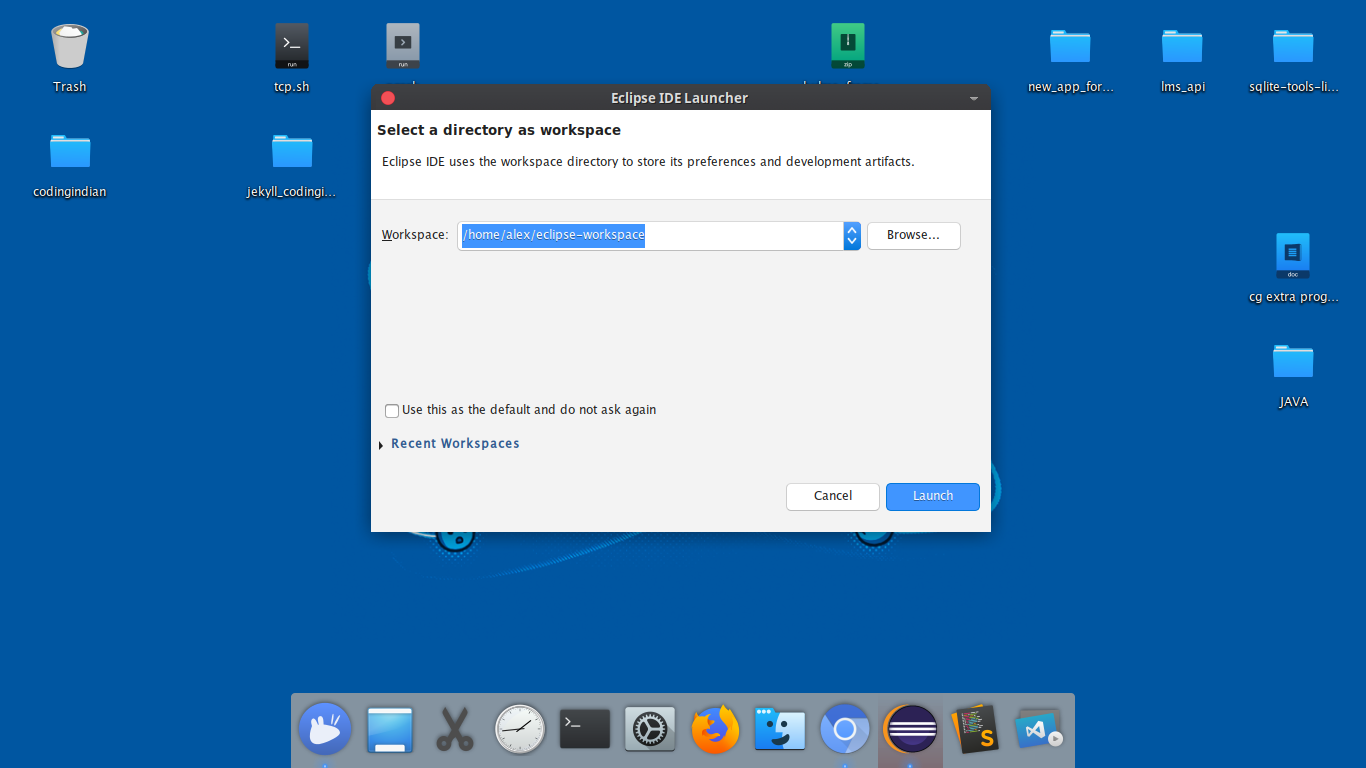
Launch the IDE from application menu wait for some time, let it start. No you can leave all the things and click Launch or specify any folder where all the projects have to be saved.
Click Launch

My eclipse screenshot with dark theme

Thank You !


